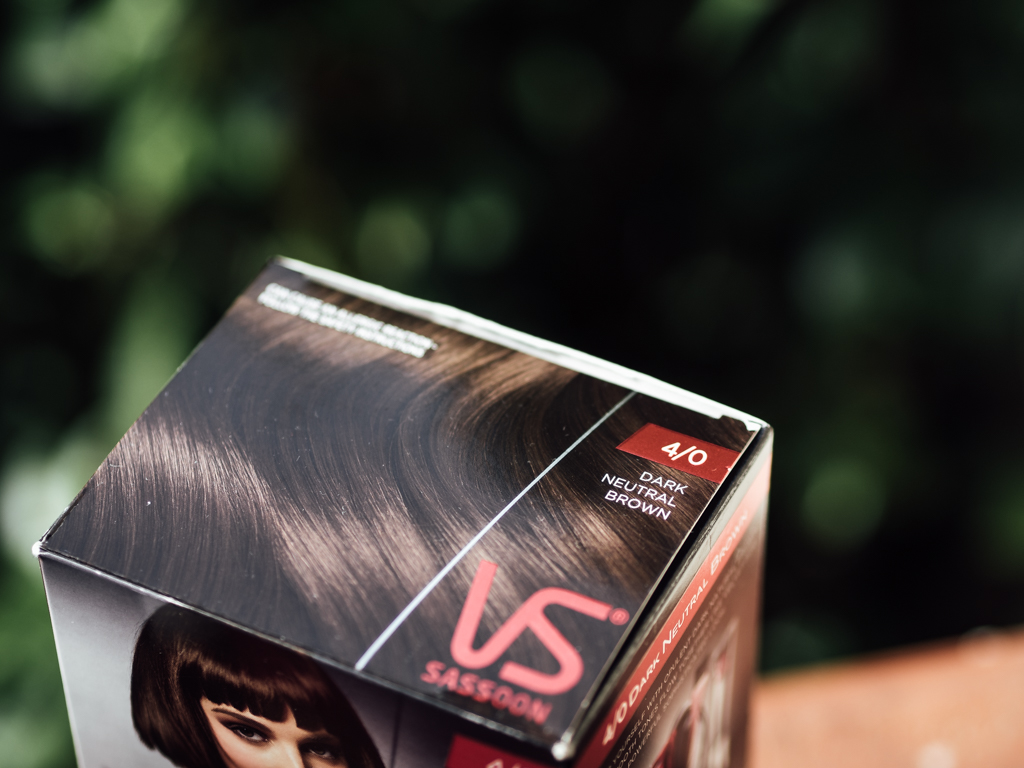
If you tuned into the blog last week, you will know I am working on a special project with Vidal Sassoon to launch an exciting competition around the new Vidal Sassoon Salonist. I tried the product myself at home hoping to cover a few pesky greys and add a little depth and tone to my roots. The result was way beyond my expectations mostly because of the new VS Salonist 2-step technique, which treats roots and ends differently. It may sound a little more complicated than your standard at-home colouring kit, but it is actually dead simple and the results are worth the extra few minutes of concentration!
Another reason my at-home colour experience was so successful is because I was lucky enough to sit down for an hour with Stuart Ross, expert colourist from the Vidal Sassoon Atelier, who gave me a lot of interesting tips and tricks to get salon results at home. I summed up the most important ones for you below…
Before you read on, remember you can enter the awesome competition hosted by Vidal Sassoon and Superdrug to win one night hotel stay for you & a friend in a top London hotel, return travel to and from London for you & a friend , a hair consultation and makeover with a VS Expert, £1,000 Selfridges voucher AND you will also get to accompany me to one of the main shows during London Fashion Week! The 20 runner-ups will win P&G Beauty Bags filled with really lovely products. To enter, simply visit the Superdrug website and fill in the required form – you will need to purchase a VS Salonist product. If you want to show me the results of your at-home experiments, just tag me on Instagram!

1.
Always do a strand test
Doing a strand test before applying your colour, will allow you to know exactly how long you need to leave the product on your hair to achieve the desired results. Depending on your hair type, its natural colour or the colour you currently have on, the final shade can be very different from the one you picked so test it first on a piece of your hair. Just take one strand of hair from the nape of your neck, cut it off and apply the solution to it. Easy, right? Don’t forget to also do an allergy test at least 48 hours in advance – even if you’ve dyed your hair before!
2.
Pick a neutral shade to cover greys
In the VS Salonist range, just like with professional products, the code goes like this: 4/0 or 5/3 etc. The first number represents the actual colour you will get after the dye and the second number defines warmth. So “0” is a neutral tone which is perfect to cover greys. Go too warm and they will stick out as they take to the colour more than your other hair. So if your end game is to cover greys, make sure you pick a neutral tone, whatever the shade.
3.
Treat roots and ends differently
This is the whole technique on which VS Salonist is based, which is salon technique and it is like this for a very specific reason: to avoid blocky and flat colours. The hair at your roots is virgin hair and your ends, even if they haven’t been treated are naturally more porous, so you need to treat them differently. This also allows some flexibility to use the product, just like I did.
4.
Use two different tones for ombré hair maintenance
This is for all of my ombré babes out there… Of course, the first question I asked Stuart was about colouring ombré hair at home, more specifically how to revive ombré hair after a Summer of excesses and not enough hair care. His answer was simple: use two different shades! I used shade 4/0 on my dark roots and a lighter shade of blonde (8/1) on the lighter ends to neutralise the brassy tones.
5.
Blondes can go blonder
VS Salonist is a great product, but it isn’t a lightening treatment. However if you are already blonde, or a very light shade of brown, you can use it to go up two shades, which means you can lighten up your blonde, or experiment with the new “bronde” trend. If you are a dark brunette, this isn’t for you, but you can still experiment with different tones within your shade range.
This is a collaboration with Vidal Sassoon


